
free motion embroidery - transferring your designs
In my last blog I wrote about getting your sewing machine ready and making sure you can drop the feed dogs.
This blog is about transferring your designs before we prep the fabric.
There are a number of ways to transfer your designs onto fabric. I like to use a plain fabric as it shows up your designs in a lovely clean way.
My favourite way to transfer the designs I want to stitch out are to print them off onto paper, and use a light box.

Light boxes are not that expensive, however another way to do it, without having to buy more stuff is to use your window.
I tape my printed design with masking tape onto the lightbox (or window), then place the fabric over the top, and you can tape that in places as well. This works really well if using a window to transfer as the fabric and paper won’t slip.
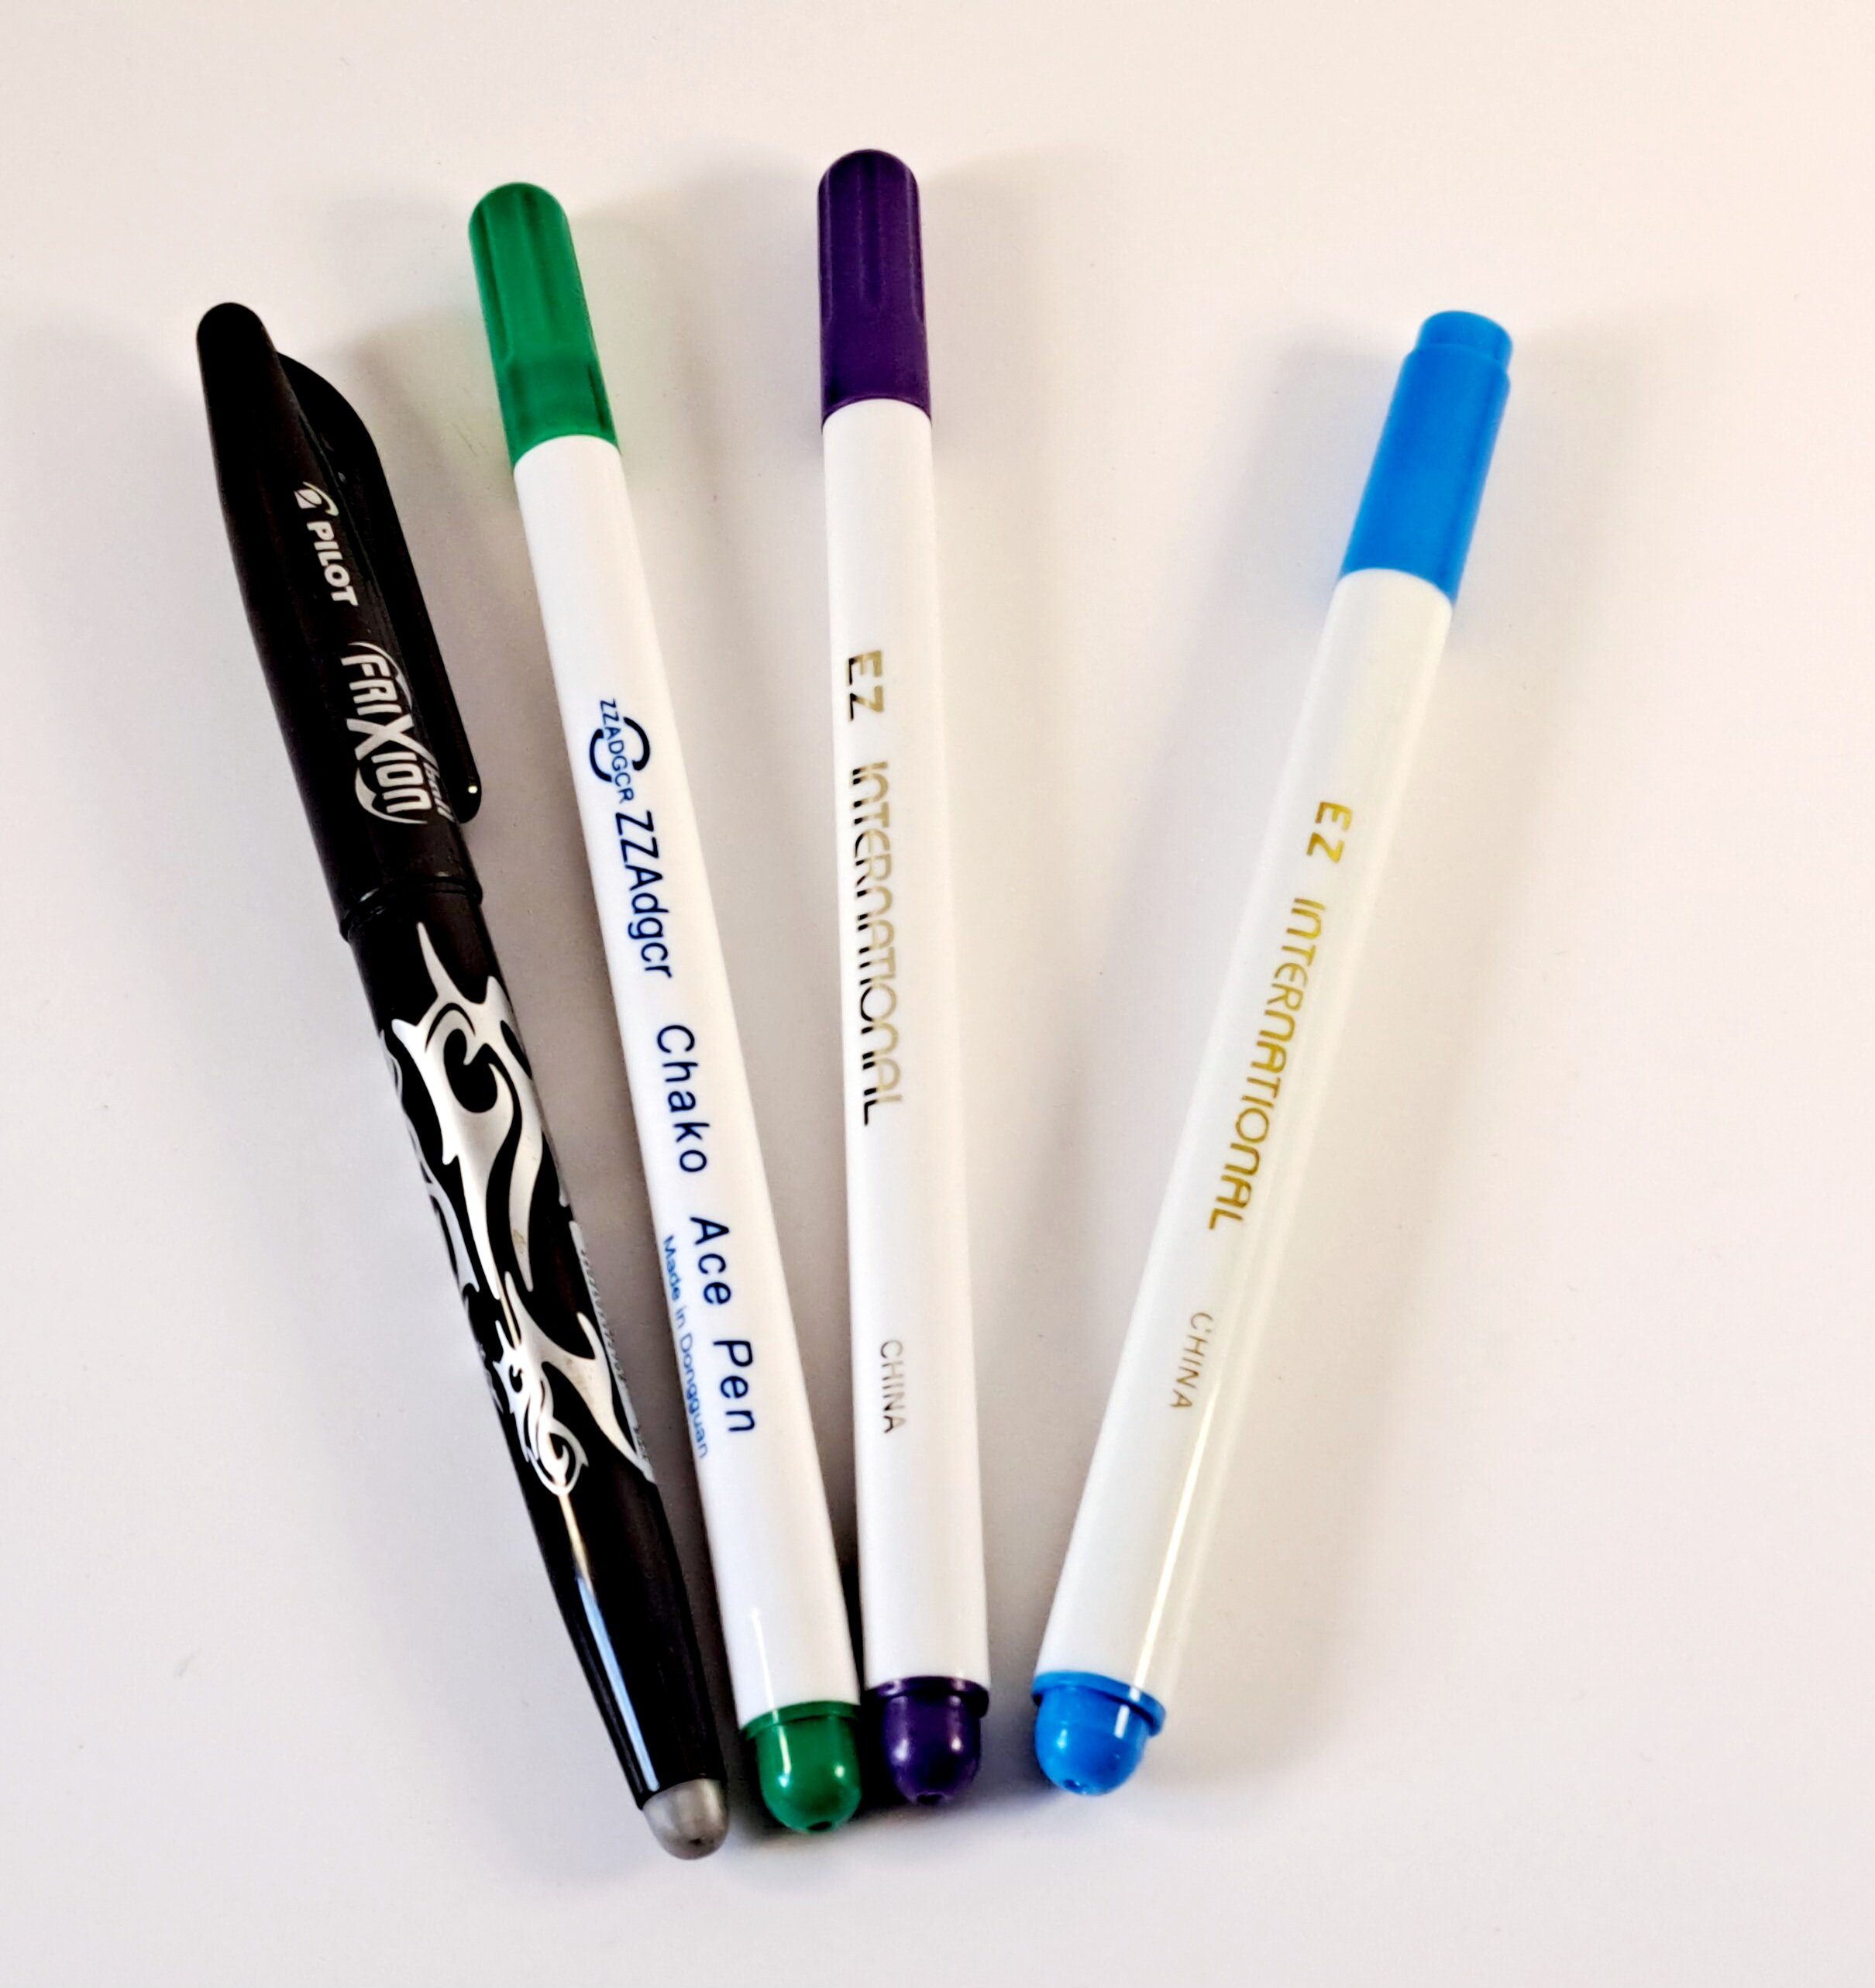
Once everything is secured down then grab your pen, I use a frixion pen, and draw your design onto the fabric following the outline from the drawing below.
It really is as simple as that.
You can use other pens that you may have, heat erasable pens, water soluble pens or air erasable pens. Make sure to read the instructions and carry out a test piece on some scrap fabric if you are not sure.
Alternatively if you are great at sketching then just sketch your idea out directly onto your fabric.
I will be writing lots more short blogs on FME, so please do subscribe to my newsletter as I always mention a new blog in there first.
The Free Motion Embroidery Club will be starting soon. If you are interested sign up to the wait list.

Happy stitching,
Tracy
xx